PictureFX Superia Sakura version II
A downloadable tool
PictureFX – Superia Sakura LUT - version II
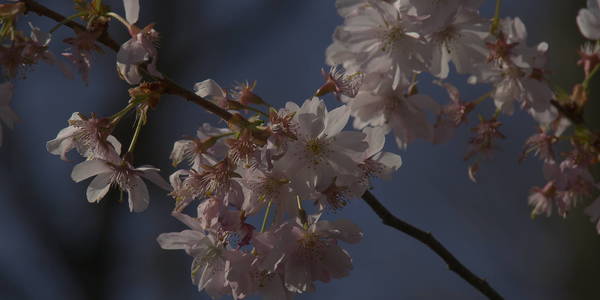
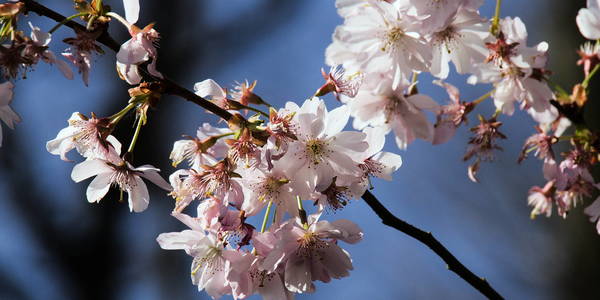
Created with photography in mind, the Superia Sakura LUT by PictureFX delivers a soft, film-inspired mood to your images – drawing from the tones and colors of classic color negative film, with a subtle poetic twist.
This is a pure color grading LUT – no grain, no added effects – focused entirely on color character: gentle pastels, warm highlights, natural skin tones, and a soft fade in the shadows. Perfect for portraits, fine art, lifestyle, and dreamy outdoor photography.
✔️ Designed for photographers – compatible with Adobe Lightroom, Photoshop (Camera Raw), RawTherapee, Darktable, Capture One, and more
✔️ Also suitable for video use in Premiere Pro, DaVinci Resolve, Final Cut Pro, etc.
✔️ Non-destructive, stylish, and seamlessly integrated into your workflow
✔️ Downloaded over 4,900 times on FreshLUTs.com – trusted and loved by photographers worldwide
Superia Sakura brings a character-rich, analog-inspired touch to your digital photography – light, elegant, and creatively distinct.
Download
Install instructions
Installation & Usage Instructions
The Superia Sakura ZIP package contains 4 LUT files:
-
SuperiaSakura_25.cube(25-point Cube LUT) -
SuperiaSakura_64.cube(64-point Cube LUT – higher precision) -
SuperiaSakura_125.png(PNG LUT for apps like RawTherapee & Darktable) -
SuperiaSakura_512.png(High-res PNG LUT for maximum quality workflows)
📥 Installing the LUT
In photo editors (Lightroom, Photoshop, Capture One, etc.)
-
Use the
.cubeLUT by importing it into your color grading or LUT adjustment panel. -
In Photoshop: Go to Adjustment Layers → Color Lookup, then load the
.cubefile. -
In Lightroom (Classic or CC): Use a plugin or preset system that supports LUTs (like Negative Lab Pro, Color Fidelity, or custom profiles).
In RawTherapee / Darktable
-
Use the
.pngversion (125 or 512 depending on your system’s performance). -
In RawTherapee: Go to the Film Simulation module and load the PNG LUT.
-
In Darktable: Use the 3D LUT module to apply the PNG file.
In video editors (DaVinci Resolve, Premiere Pro, Final Cut Pro, etc.)
-
Use the
.cubeLUT. -
In DaVinci Resolve: Copy the LUTs into your LUT folder, then refresh and apply from the LUT panel.
-
In Premiere Pro: Apply via the Lumetri Color panel under the Creative tab.
🎛️ Adjusting the Look
-
LUTs are applied at 100% intensity by default.
-
To fine-tune the effect, simply lower the opacity (or intensity/amount) of the LUT adjustment layer or effect.
-
This allows you to blend the LUT look subtly with your original image and customize the mood to your taste.
Leave a comment
Log in with itch.io to leave a comment.