PictureFX J.S. Styles
A downloadable tool
PictureFX J.S. Styles - four Luts in .cube and PNG format
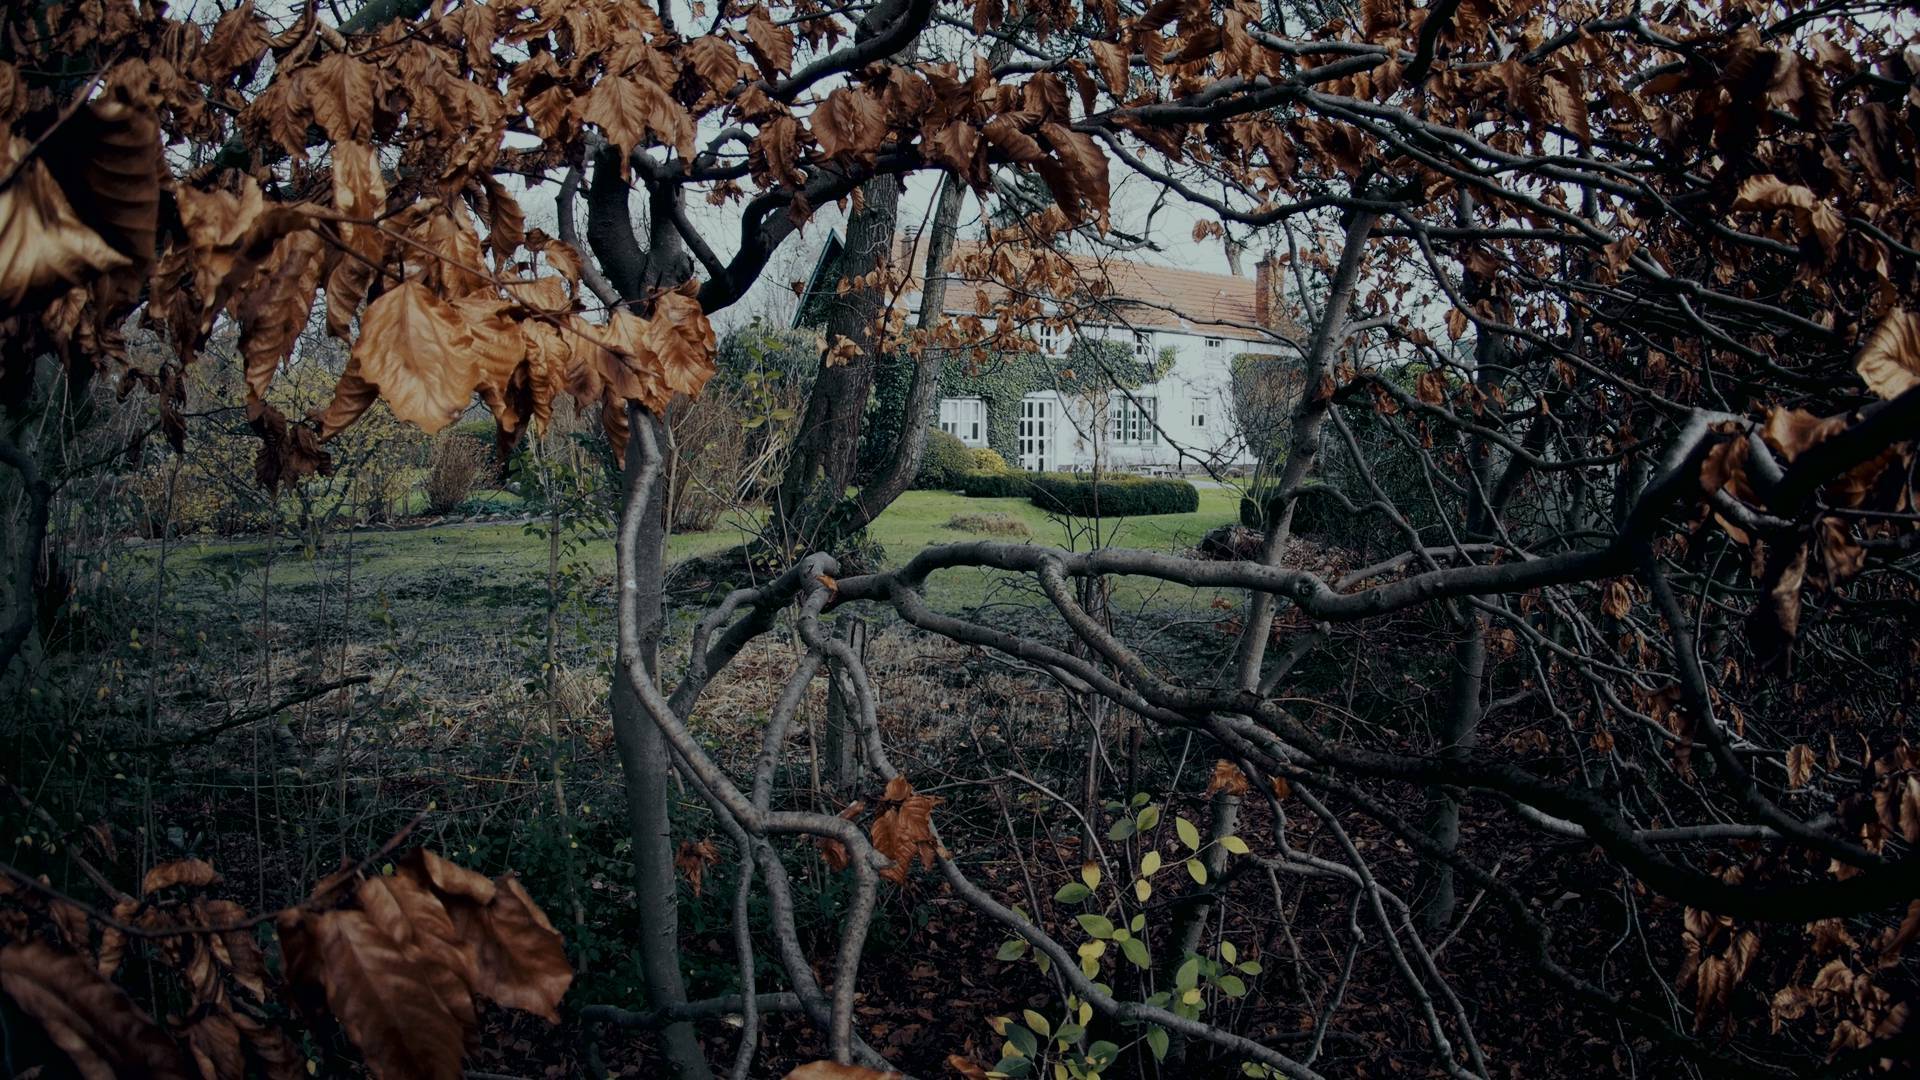
Inspired by the dreamy, misty, and mysterious photography of English artist Jo Stephen, the PictureFX J.S. Style LUTs transform your nature shots and ICM experiments into ethereal, painterly masterpieces. From soft purples and pinks to wildflower warmth and twilight blues, these LUTs add a distinct mood that’s hard to capture with simple tweaks.
Whether you want to emphasize mist, motion, or subtle color shifts, these LUTs are designed to work hand-in-hand with creative post-processing techniques. Below, you’ll find a quick overview of each LUT, followed by four key methods to get the most out of them — with straightforward, no-nonsense instructions.
The Four J.S. Style LUTs at a Glance:
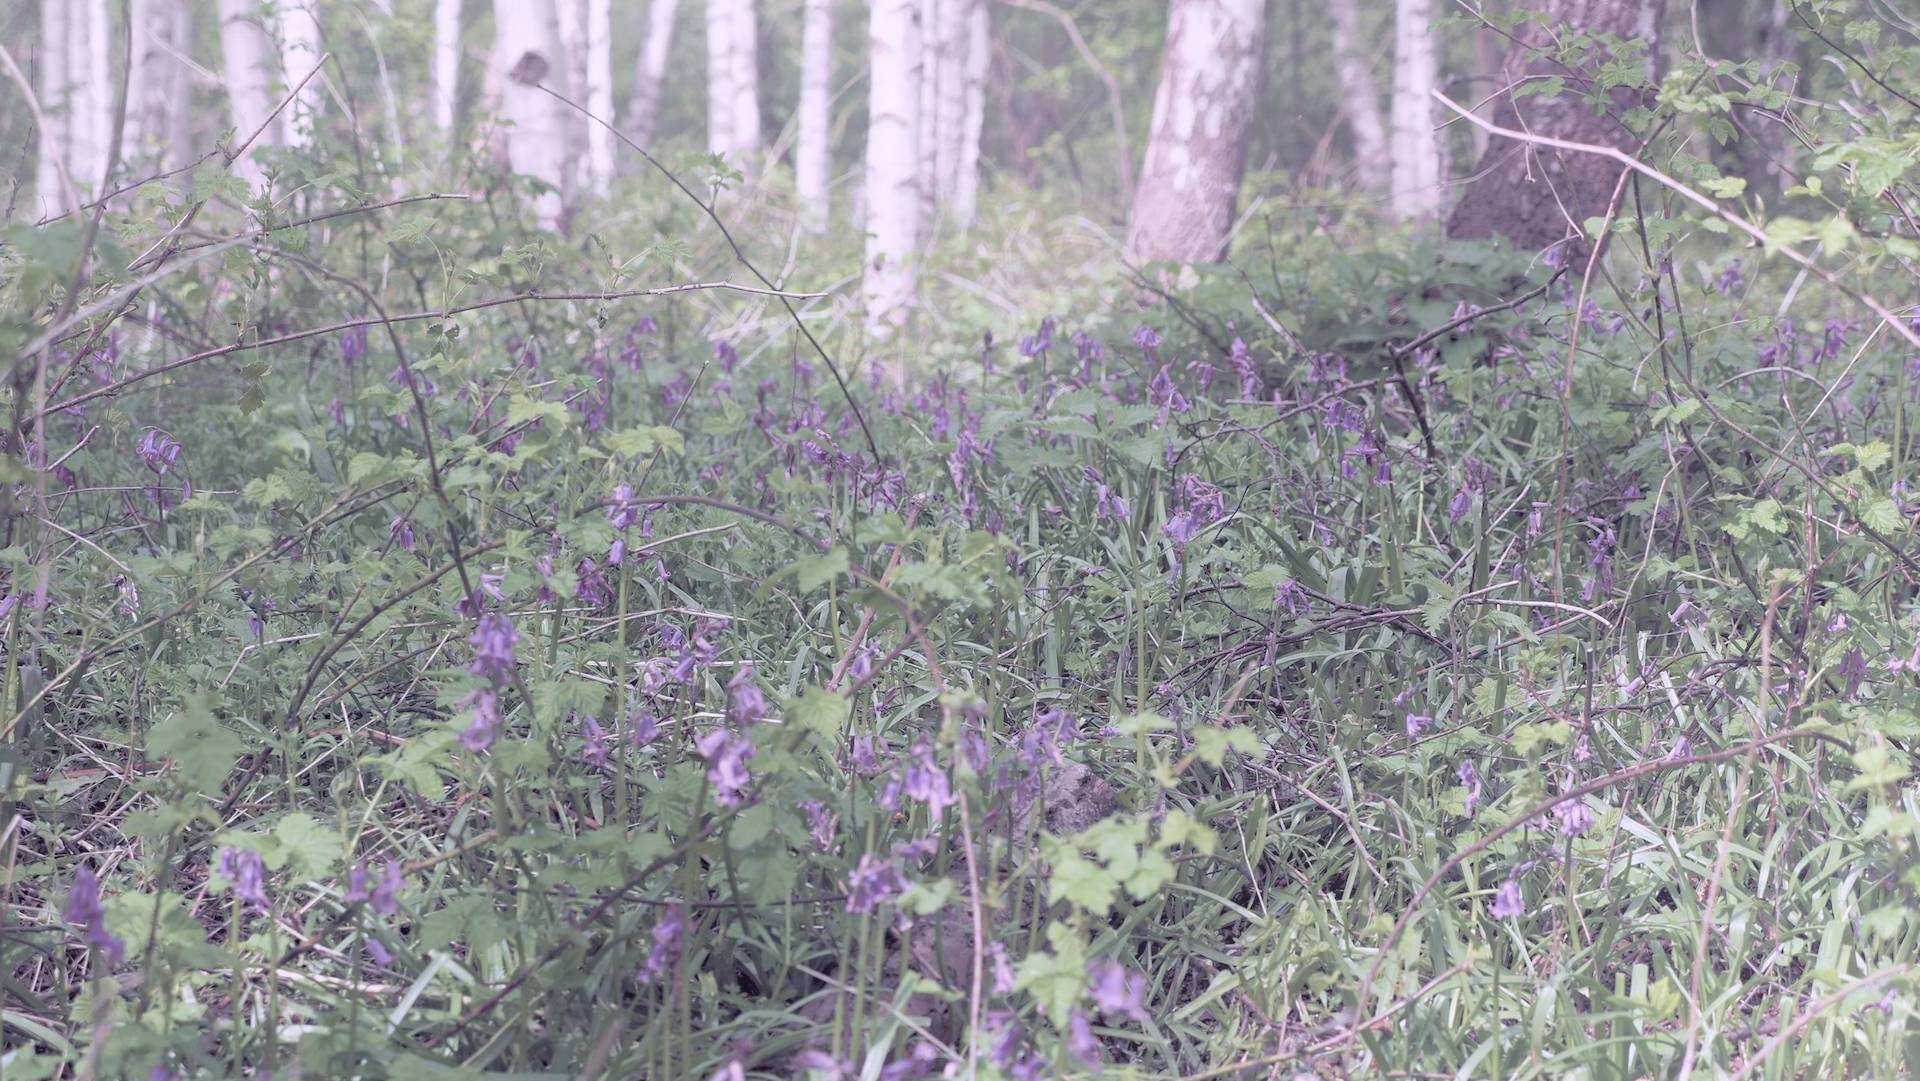
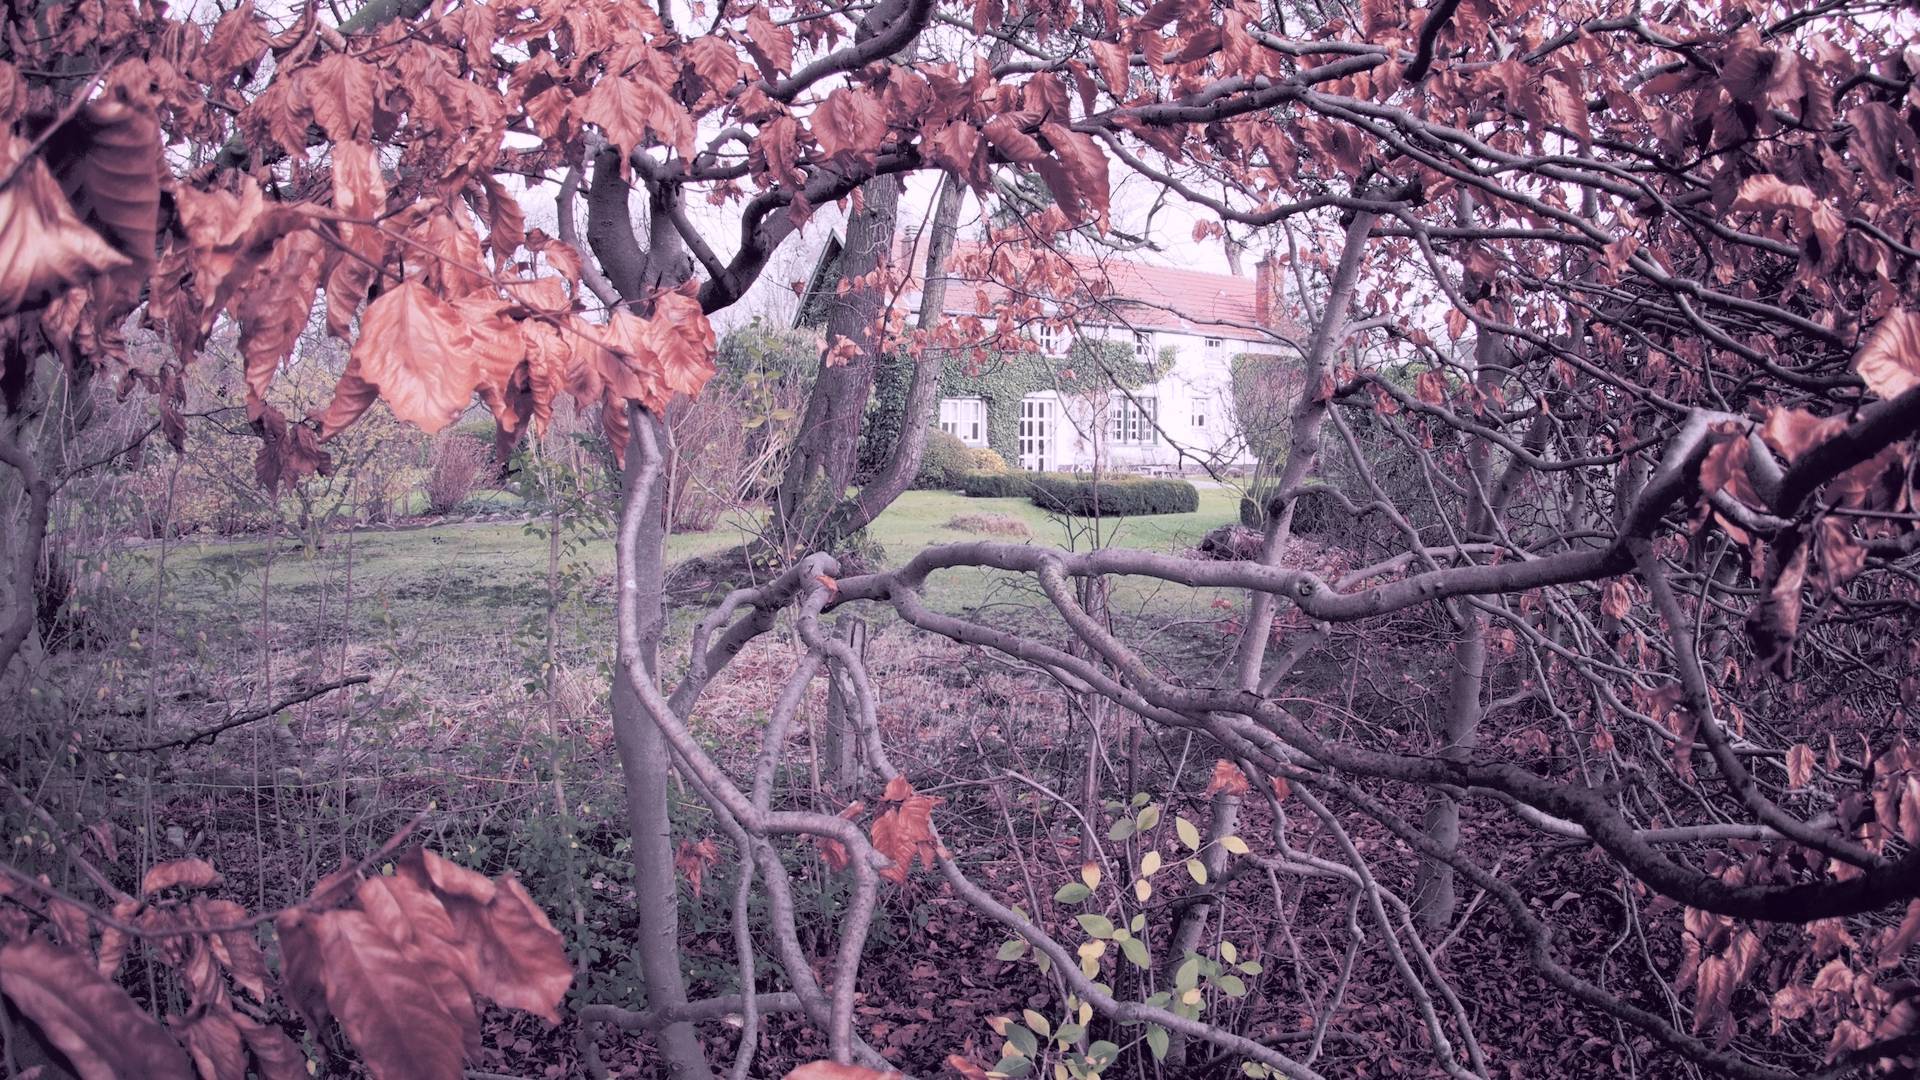
🌸 Ethereal Purple & Pink
Wrap your florals and woodlands in a soft glow of purples and pinks. Perfect for pastel highlights and muted shadows, lending a delicate dreamlike feel.
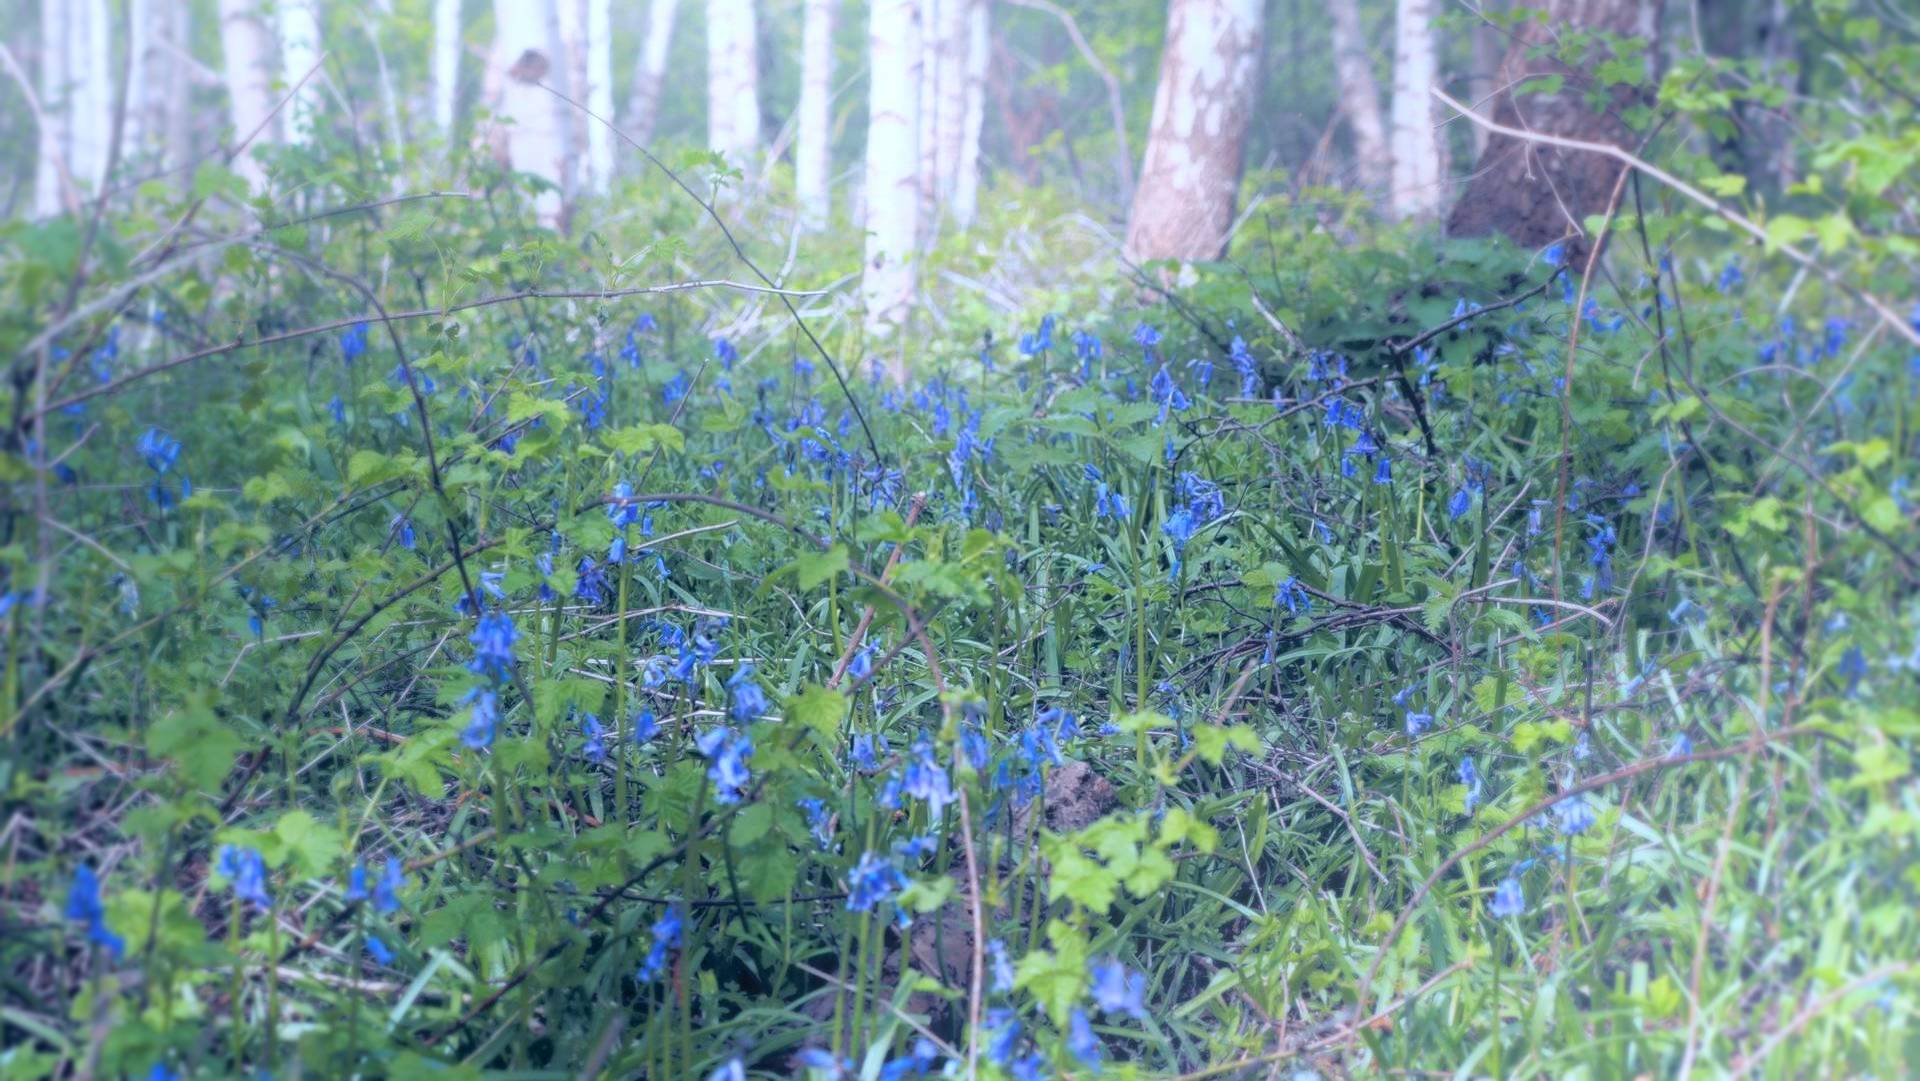
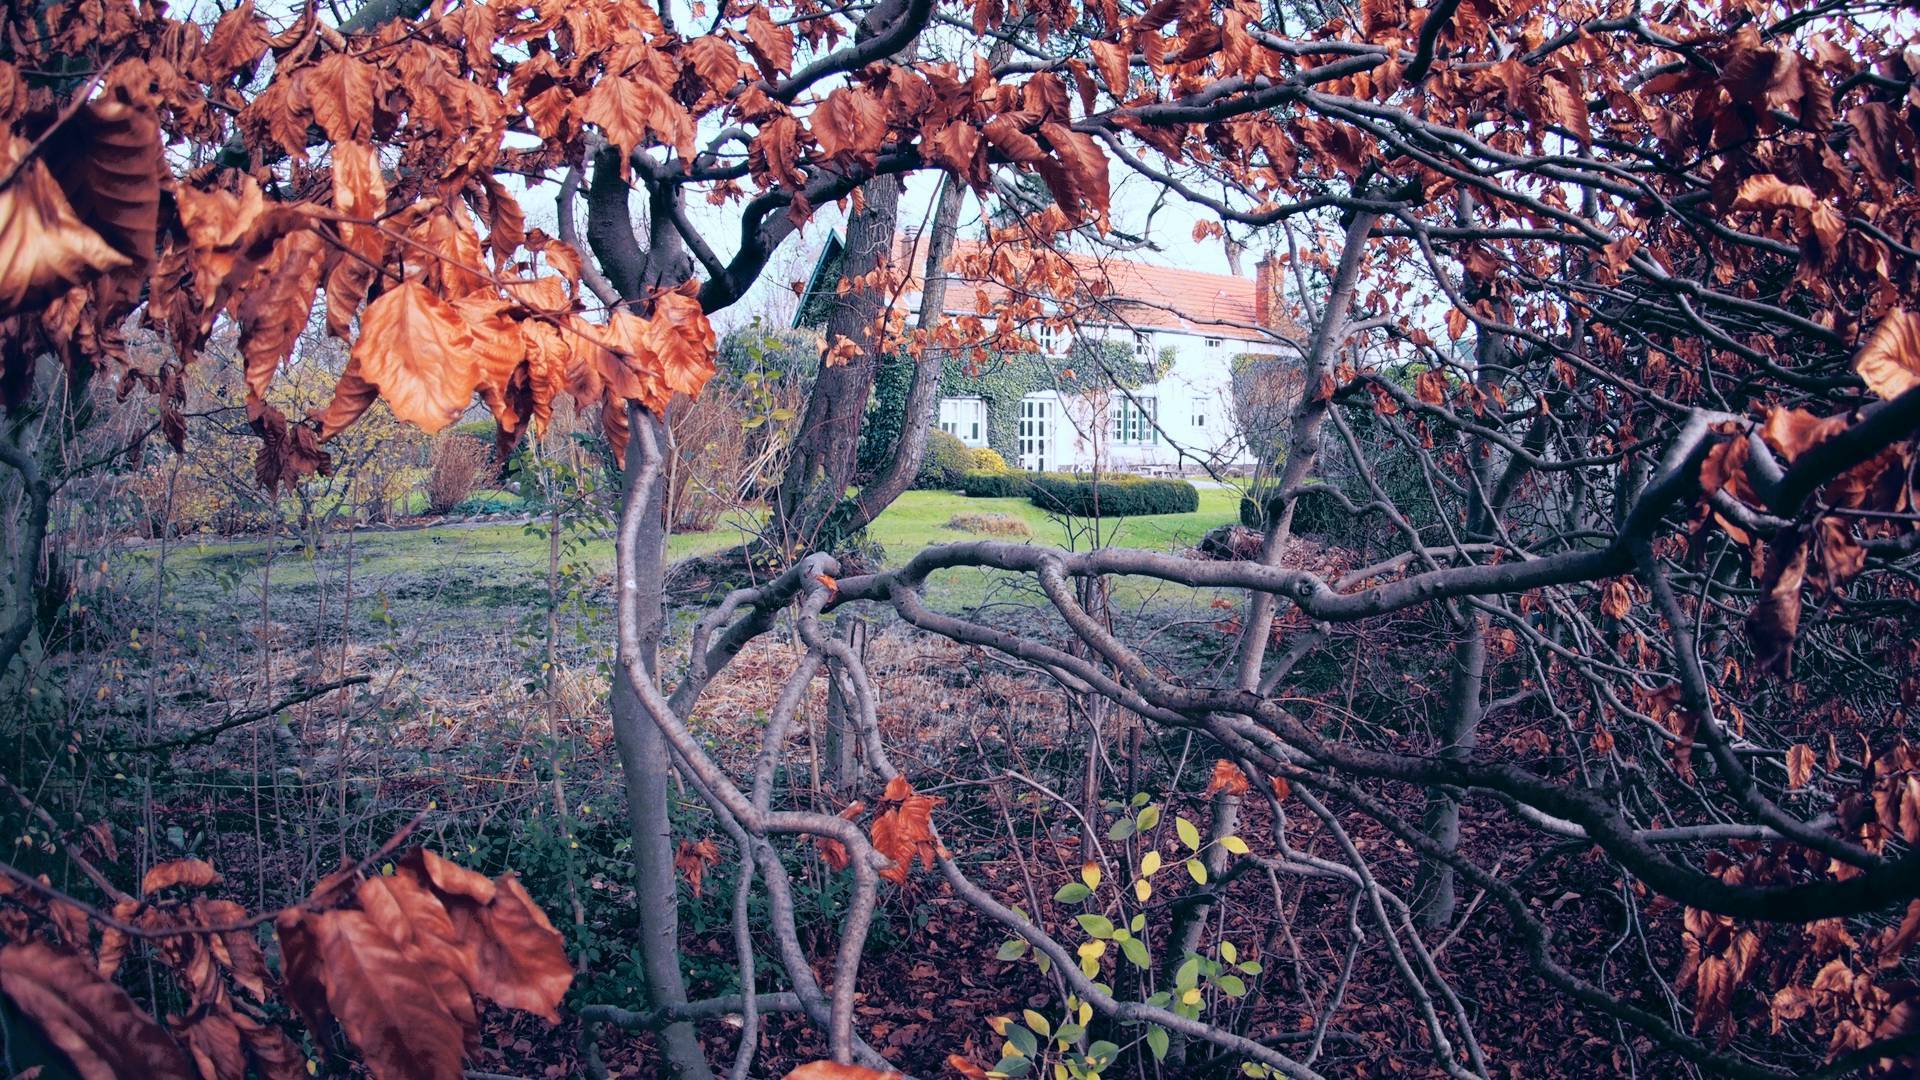
🌼 Wildflowers
Bring out vibrant greens and warm floral tones with subtle desaturation of skies. Ideal for meadow scenes that need a natural yet stylized boost.
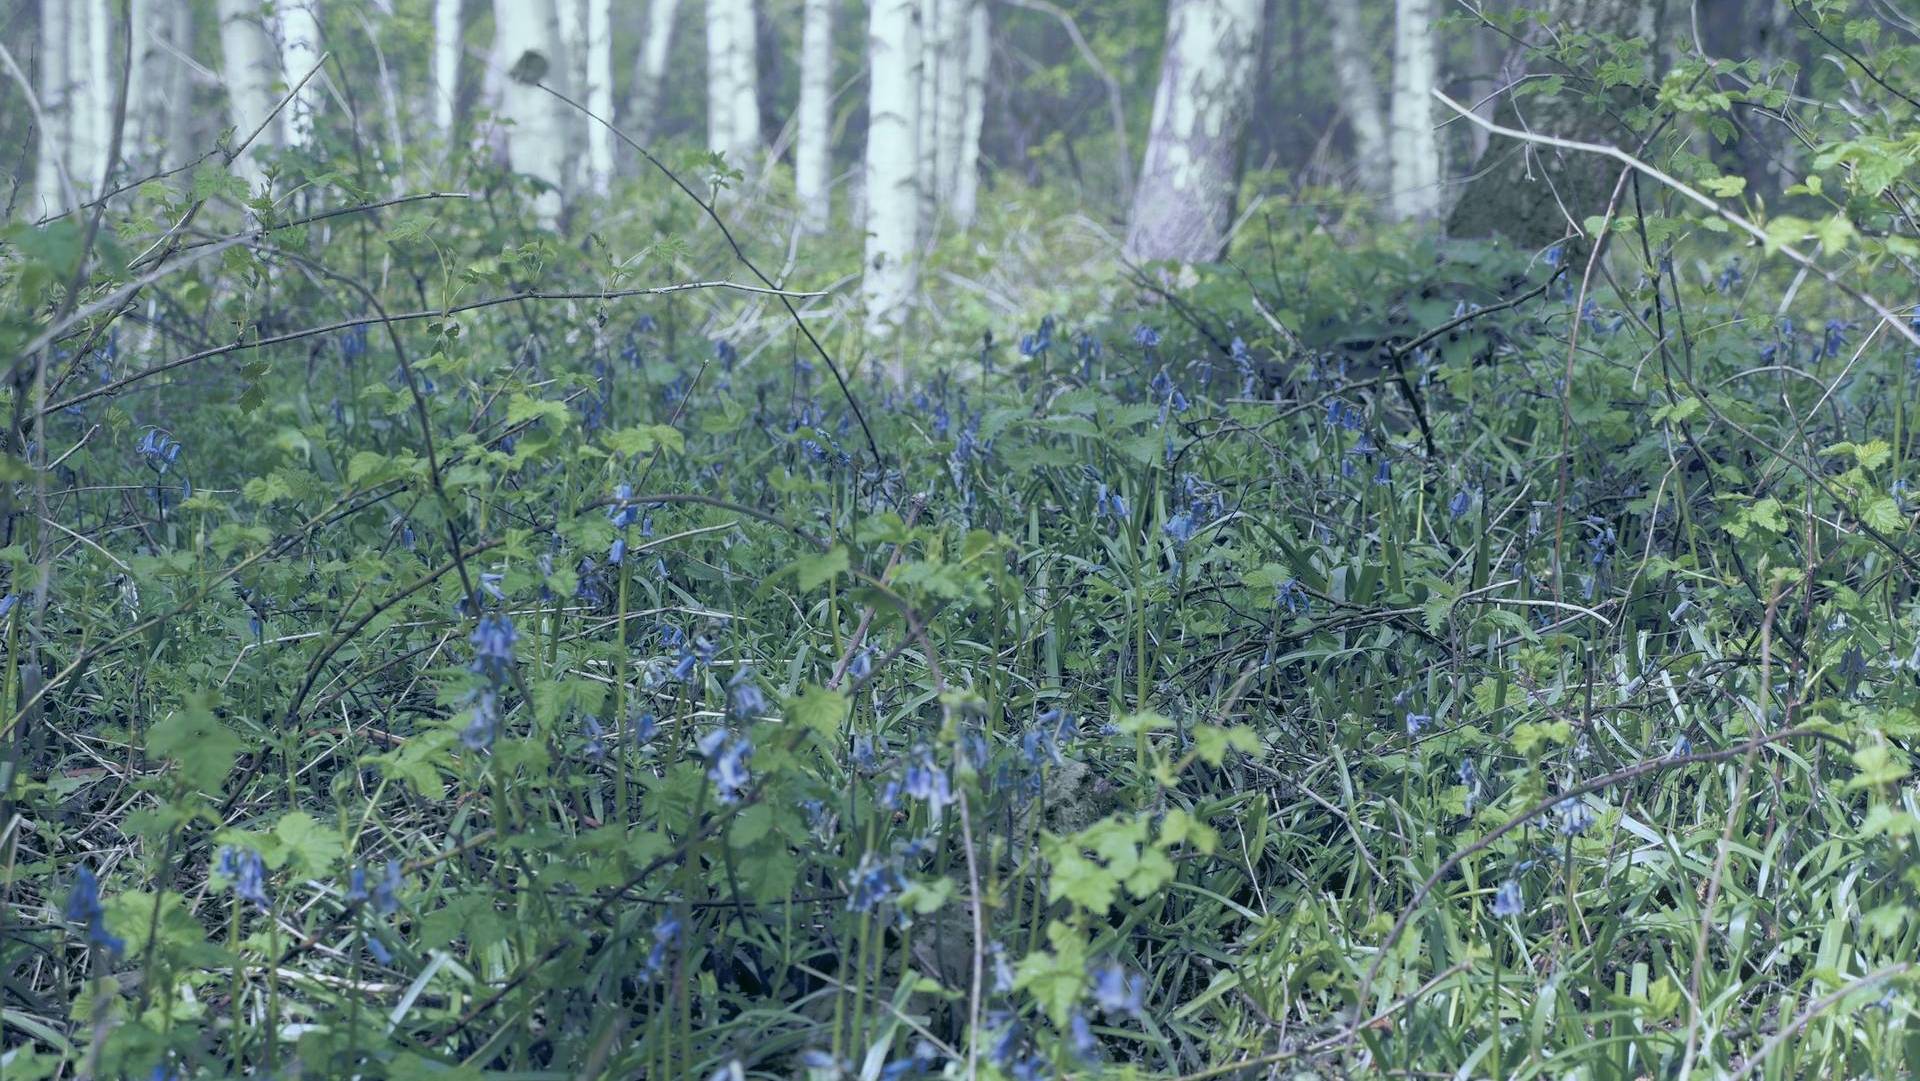
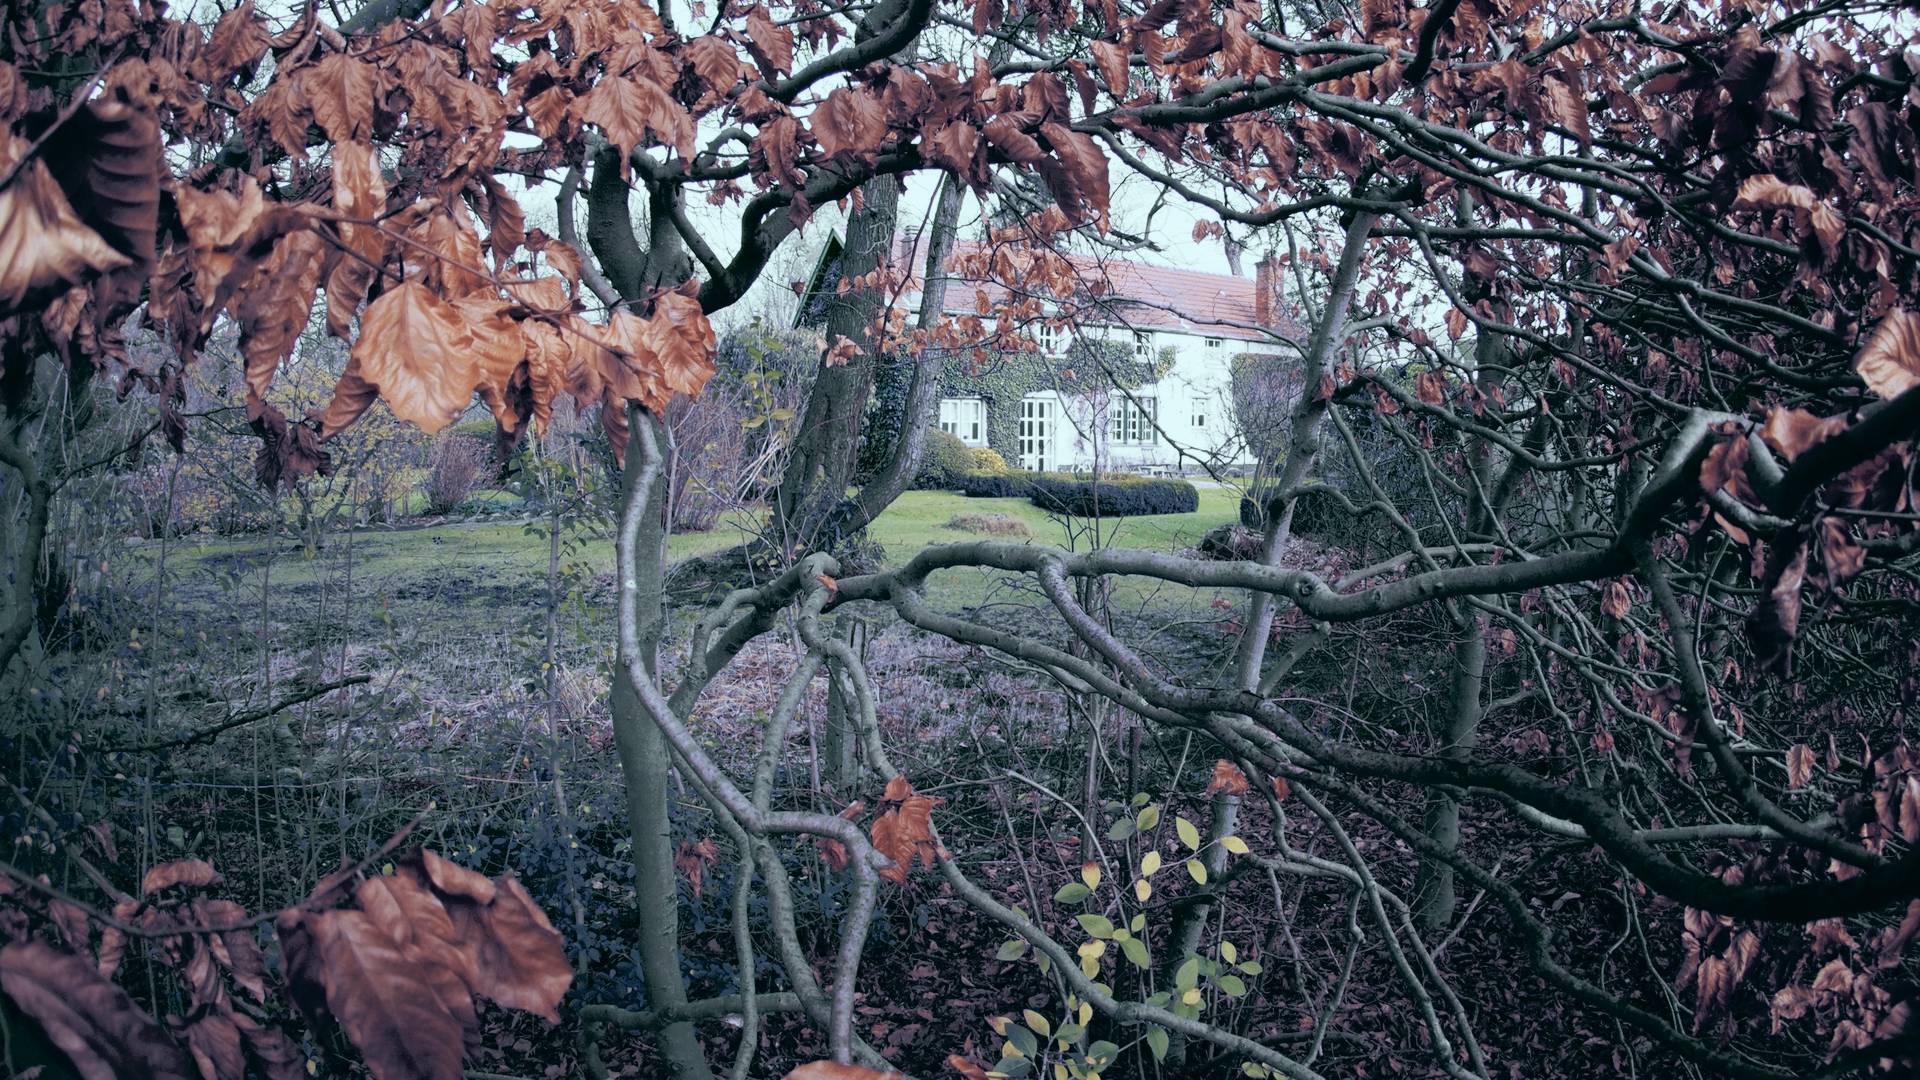
🌫️ Mystical Dusk
Add a muted violet-blue cast with gentle contrast shifts. Great for twilight or foggy landscapes, deepening shadows while keeping highlights soft and glowing.
Link to full article on Open Source Photography here soon ...
Download
Install instructions
🔧 Four Essential Techniques to Pair with the LUTs
1. Intentional Camera Movement (ICM)
Shoot handheld with shutter speeds from ¼ to 1 second, moving your camera gently to create painterly blur. Combine with a sharp version in editing for texture and control.
2. Linear Motion Blur (GIMP)
Duplicate your image, apply a directional motion blur filter, then blend with soft modes like Overlay or Soft Light to add dreamy streaks.
3. Bloom (GIMP)
Duplicate, blur with Gaussian Blur, and set to Screen or Addition mode. Lower opacity to create a subtle glowing effect on highlights.
4. Layer Blending (GIMP)
Stack two images (sharp + blurred), drag one into the other’s tab, set blend mode and opacity to taste. Use masks for selective application.
⚙️ How-To: Step-by-Step
ICM
Set shutter speed ¼–1s, aperture ~f/8, ISO 100
Move camera vertically or circularly while shooting
Blend sharp + blurred images in GIMP or Photoshop using Soft Light/Overlay modes
Linear Motion Blur (GIMP)
Duplicate layer
Filters > Blur > Linear Motion Blur (angle & length settings)
Set layer mode to Overlay/Soft Light
Adjust opacity (10–40%)
Bloom (GIMP)
Duplicate layer
Filters > Blur > Gaussian Blur (radius 20–60 px)
Set layer mode to Screen/Addition
Adjust opacity (15–40%)
Layer Blending (GIMP)
Open two images
Drag one into the other tab, drop on canvas
Set blend mode (Overlay, Multiply, Soft Light)
Adjust opacity and optionally use masks
🚀 Applying the LUTs
Load the .cube LUT in your editor (GIMP, Photoshop, RawTherapee)
Apply on your base or post-processed image
Combine with bloom, blur, or layer blending for enhanced effect
Adjust final opacity or masks to refine mood and detail
Download : included are four Luts in both .cube and .PNG format, for use in Adobe PS/LR - Capture One - Darktable - RawTherapee - etc...
Leave a comment
Log in with itch.io to leave a comment.